Metuchen High School: GIMP

Metuchen High School: GIMP |
|
2. Heal and Red-Eye Removal
5 points
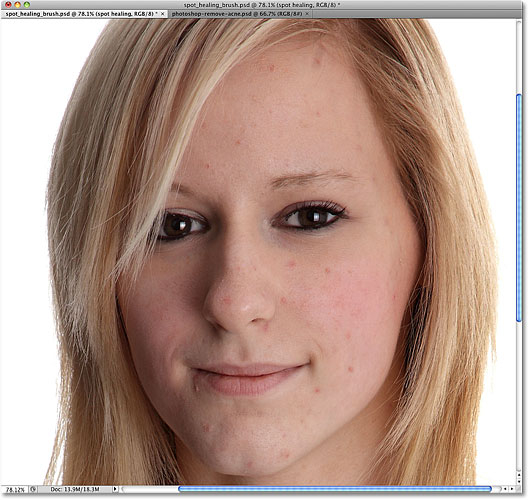
The Heal Tool
The Heal tool is ideal for removing small imperfections in a photo.
It is useful, for example, in removing minor blemishes in a person's skin in a
photo. Below is a link to a video that shows the Heal tool in use in doing
just this:
http://www.youtube.com/watch?v=abav1P6nMVo (no sound)
To use the Heal tool, click the Heal tool ![]() in the Toolbox.
in the Toolbox.
In Tool Options, click Brush and adjust the brush size. In my experience, it works well to use a brush size that is slightly larger than the area of the imperfection. Hold the CTRL key down and click, near the imperfection that you want to remove. The idea is to click in an area that is in good shape, an area that you want to "mimic" in modifying the imperfect area. Then click, or click and drag, over the imperfect area. You may find that you need to repeatedly CTRL-click if you are dealing with a large area. Use CTRL-Z to undo a recent change.
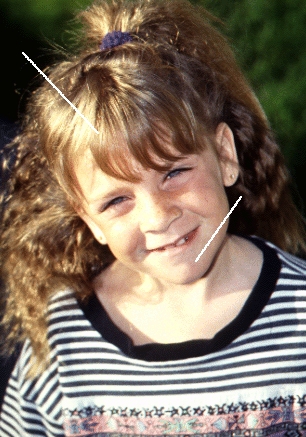
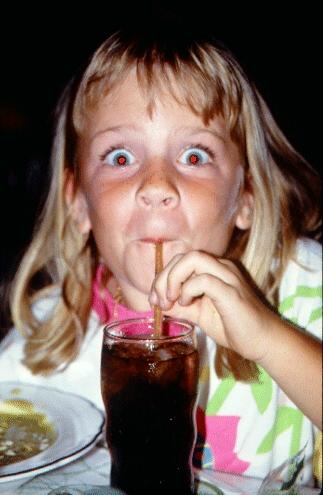
Red Eye Removal
With some photos, the Red-Eye Removal tool works best when you first draw a rectangle around the eyes that have red eye. Then use the Red-Eye Removal tool.
|
|
|
|