Metuchen High School: GIMP

Metuchen High School: GIMP |
 |
4. Adding a Frame (using patterns)
3 points
This is an exercise intended to show you how adding a frame works. It is not an exercise that you are asked to do. The exercise you are asked to do is discussed below.
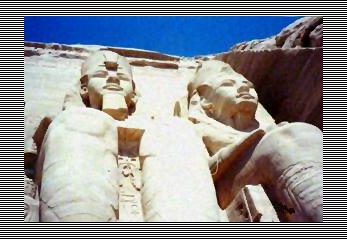
In this exercise we'll add a frame around an image. The frame will come from a pattern. As an example, we'll work with this image of a monument to Ramses II from ancient Egypt:

Activate the Patterns dialog box: Windows > Dockable Dialogs > Patterns.
To add a frame:
- Enlarge the canvas to make room for a frame
- Choose Image > Canvas Size and increase the canvas size to create space around the image.
- Click Center. Choose Resize Layers > All Layers. Click
Resize.
- Select the Frame
- Choose the Rectangle Select Tool in the upper-left hand corner of the Toolbox.
- Select the image in the middle (in this case, the photo of Ramses
II).
- Choose Select > Invert. This switches the selection from the
image to the frame.
- Fill the frame with a pattern
- Click on a pattern from the Patterns dialog.
- Click on the Bucket Fill tool in the Toolbox.
- In the Bucket Fill tool options, under Fill Type choose Pattern Fill.
- Click in the frame.
Here is the result:

Bucket Fill Tool: docs.gimp.org/en/gimp-tool-bucket-fill.html
Putting a border around an image: http://www.youtube.com/watch?v=7mVg7TjmOgE (has sound)