Metuchen High School: GIMP

Metuchen High School: GIMP |
 |
5 points
This exercise provides an introduction to creating animated GIFs, with Blend.
Here are the 4 images I began with:
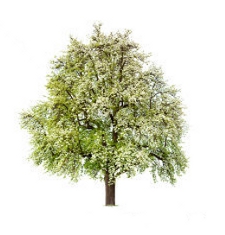 |
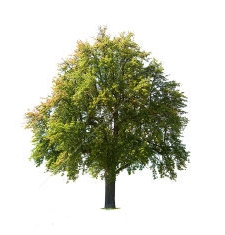 |
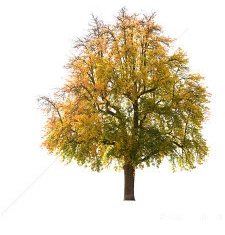 |
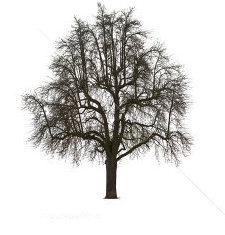 |
This is the complete GIF, with Blend:
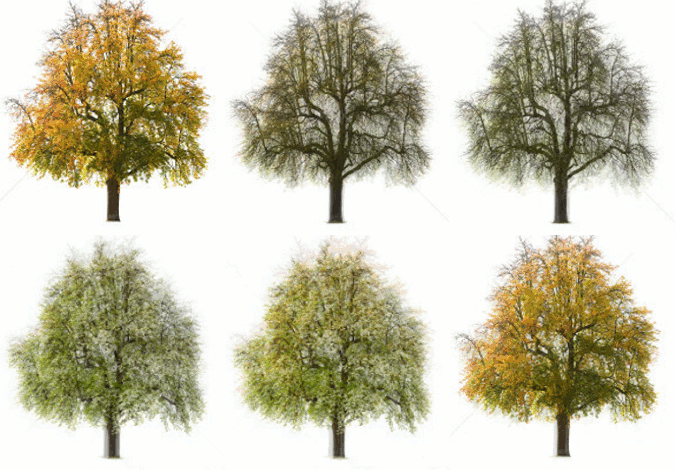
The first step in creating an animated GIF with Blend is to locate or create several images that are related to each other. (I used 4 images of a tree in each of the seasons.) First create a new project. Then use Open as Layers to add each image to the project; this puts each image on its own layer. The Blend feature adds intermediate frames between the images that you added to the project. These intermediate frames make the final animation look smoother.
Create an animated GIF with 4+ slides. Use the Blend feature to add additional frames and make the animation smoother.
YouTube video on using Blend in GIMP https://www.youtube.com/watch?v=olNbH7h_2QQ